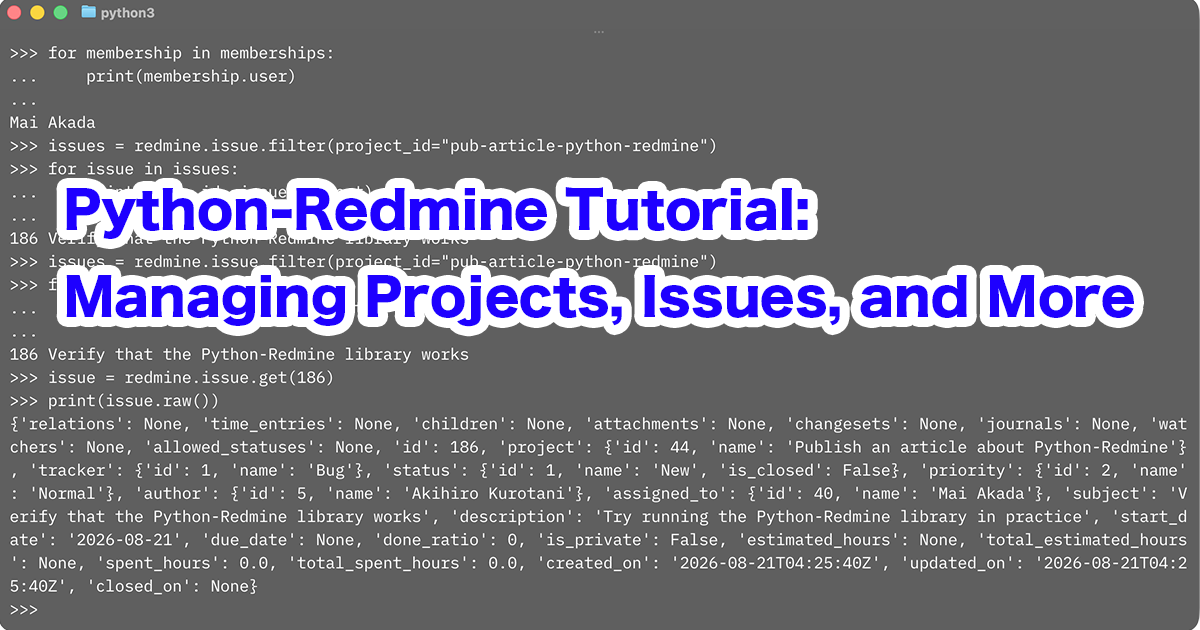
REST API
The REST API provides a way for external applications to access information stored in Redmine.
It allows you to create, read, update, and delete various objects such as issues and Wiki pages.
Developing Applications Using the REST API
For details, please refer to the following reference:
- Redmine REST API (redmine.org)
How to Enable the REST API
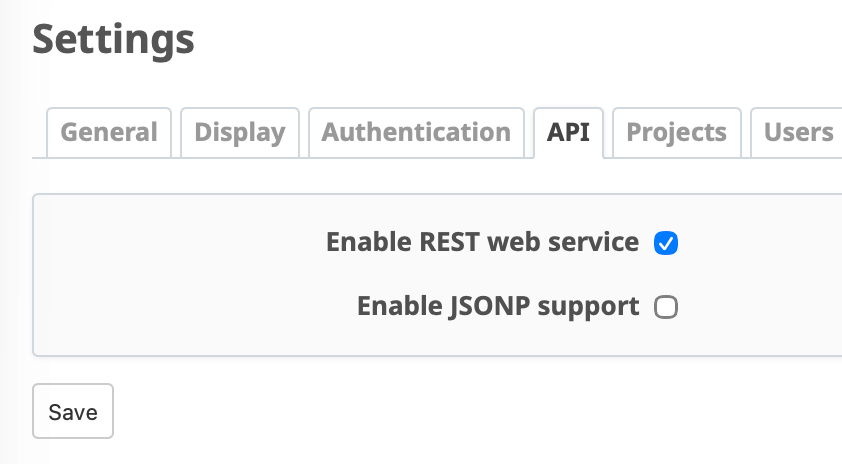
To enable the REST API, log in as a user with administrator privileges and follow these steps:
Open Administration → Settings.
Go to the Integrations tab.
(In Redmine 3.1 and earlier, this setting is located in the Authentication tab. From Redmine 3.2 to 6.x, it is located in the API tab.)Turn on Enable REST web service.
Click Save to apply the settings.
Authentication
Redmine supports multiple methods for authenticating requests to the REST API. Two commonly used methods are:
- OAuth2 (available in Redmine 6.1 and later)
- API key
For Redmine 6.1 and later, OAuth2 is recommended from a security perspective. OAuth2 allows access tokens to be issued for individual applications, making it easier to limit permissions and revoke access for a specific application when necessary.
API key authentication is simpler to implement and is available in a wider range of Redmine versions. However, Redmine provides one API key per user, and applications using that key operate with the permissions of the associated user. If the same API key is shared by multiple applications, they therefore share the same level of access.
For more information about OAuth2 support in Redmine, see Support OAuth2.
Obtaining an API Key
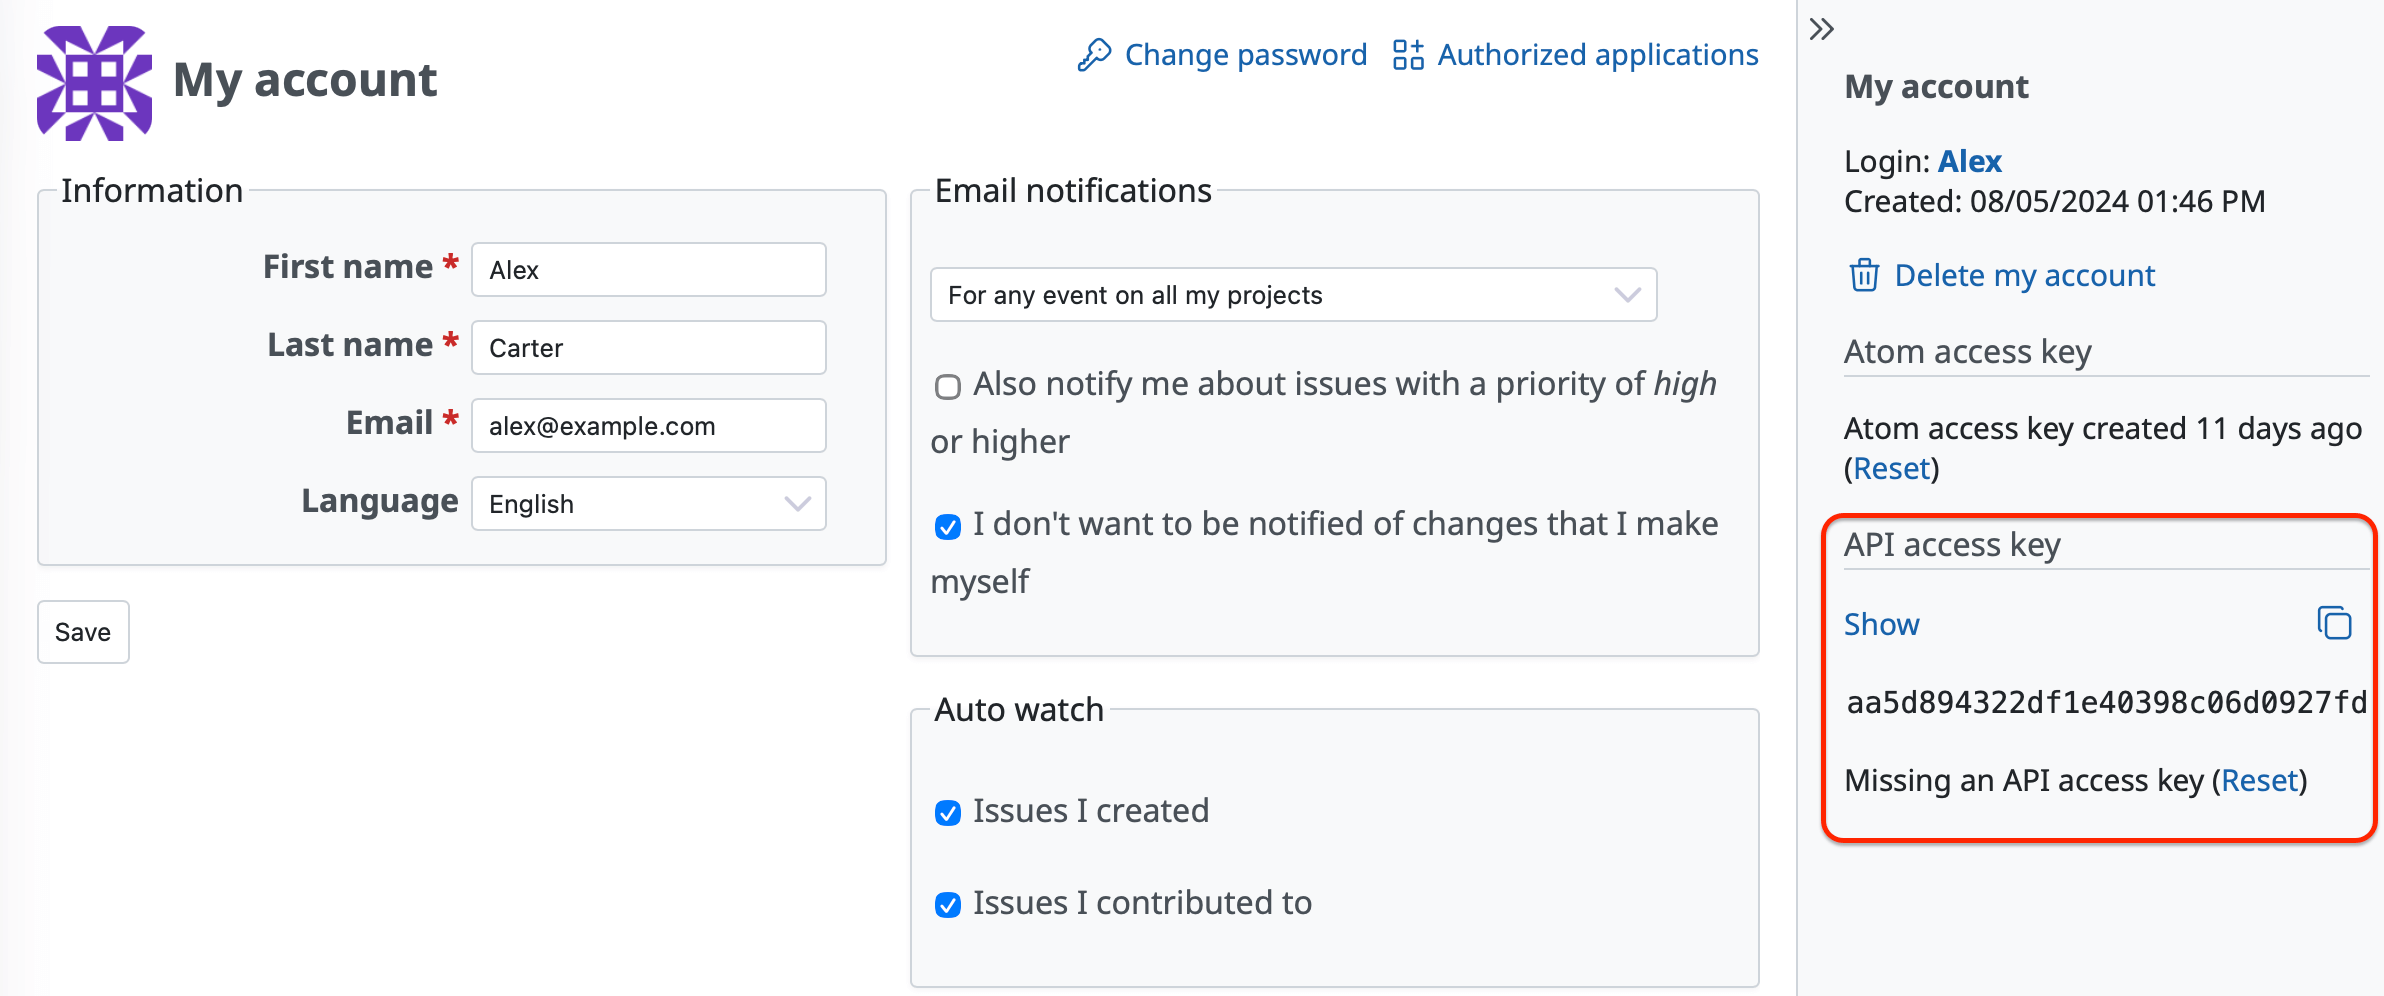
If you use API key authentication, you can obtain your API key from your account settings.
In Redmine 7.0 and later:
- Click the user icon in the upper-right corner of the screen.
- Select My account from the drop-down menu.
- On the My account page, click Show in the API access key section in the sidebar on the right.