How to Run Redmine 7.0 with Docker (Docker Compose / PostgreSQL)
2026-08-04
•
Tags: 7.0, install
•

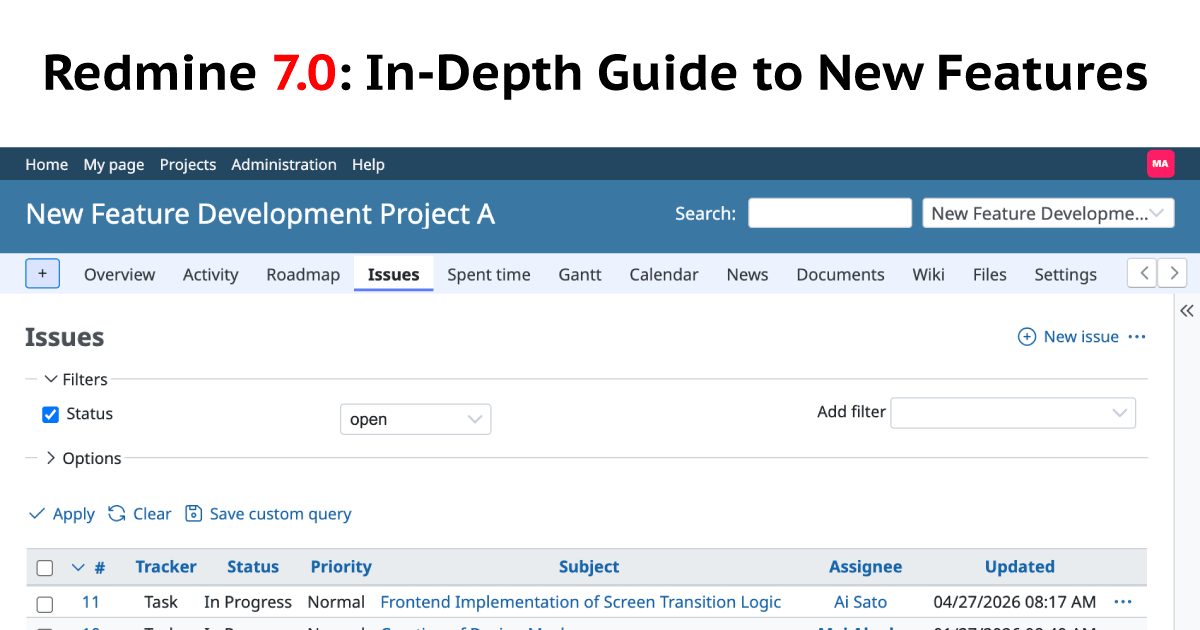
In this article, I will introduce the steps to launch the Redmine 7.0 series using Docker and Docker Compose.
This procedure uses the official Redmine Docker image and PostgreSQL. Sensitive information such as the database password and secret_key_base will be passed to the container using Docker Secrets.
In Redmine 7.0, you can now preview .docx, .xlsx, .pptx, and .odt attachments using Pandoc (for details, please see here).
Since Pandoc 3.8.3 or later is recommended to use this feature, this guide will add Pandoc 3.10 to the official Docker image.

What is Redmine:
Redmine is a versatile, open-source project management tool built on Ruby on Rails. It offers features like multi-project support, issue tracking, time tracking, and custom fields. Visit the official website at www.redmine.org to access a wealth of comprehensive information.
Environment Created by This Procedure
| Item | Details |
|---|---|
| Redmine | Redmine 7.0.0 (Built based on redmine:7.0.0) |
| Database | PostgreSQL 16 (postgres:16-bookworm) |
| Pandoc | Pandoc 3.10 |
| Container | Docker Engine, Docker Compose v2 |
| Redmine URL | http://localhost:8080 |
| Port | Forwarding from port 8080 on the host to port 3000 on the Redmine container |
| Data Persistence | Docker volumes |
| Sensitive Information | Docker Secrets |
| Timezone | UTC |
About Pandoc
Starting with Redmine 7.0, the following attachment files can be previewed without downloading them by using Pandoc:
- Microsoft Word (
.docx) - Microsoft Excel (
.xlsx) - Microsoft PowerPoint (
.pptx) - LibreOffice Writer (
.odt)
However, since Pandoc is not included in the official Redmine 7.0.0 Docker image, you need to add it yourself.
About the Queue Adapter
In "Administration" -> "Information" of Redmine 7.0, it is checked whether the Active Job queue adapter in the production environment has been changed from the default :async. A warning will be displayed if it remains :async.
In this guide, we use the following settings depending on the purpose:
| Purpose | Setting | Behavior |
|---|---|---|
| Temporary verification/evaluation | No configuration file created | Uses Redmine's standard AsyncAdapter |
| Continuous use | Set :inline |
Jobs are executed on the spot without being kept in a queue |
Note that "verification" here refers to the purpose of use, not the test environment in Rails. In both cases, Redmine itself will be launched in the production environment.
Prerequisites
- Docker Engine and Docker Compose v2 must be available (the
docker compose versioncommand should work). -
opensslmust be available (used for generating Secrets). - Port
8080must be available on the host side.
The following operations are performed in an arbitrary working directory (e.g., ~/redmine).
Setup Procedure
1. Create a working directory
mkdir redmine
cd redmine
2. Create sensitive information for Docker Secrets
Generate the DB password and Redmine's secret_key_base, and save them to files.
# Generate and save DB password (24 characters)
openssl rand -base64 24 | tr -dc 'a-zA-Z0-9' | head -c 24 > db_password.txt
# Generate and save secret_key_base (128 characters)
openssl rand -hex 64 > secret_key_base.txt
The files created contain the sensitive information itself. Set permissions so that third parties cannot read them.
chmod 600 db_password.txt secret_key_base.txt
If you are using version control such as Git, make sure to exclude these files from commits (e.g., by adding them to .gitignore).
db_password.txt
secret_key_base.txt
3. Choose how to use the queue adapter
Please select the usage method according to your purpose.
For temporary verification/evaluation
Using Redmine's standard AsyncAdapter without creating a configuration file. Since this adapter processes jobs in memory, stopping or restarting the container may result in the loss of pending jobs.
If you just want to temporarily check Redmine's features, you can leave it as is. However, a warning regarding the queue adapter will appear in "Administration" -> "Information".
For continuous use
Create a configuration file additional_environment.rb and save the following content:
config.active_job.queue_adapter = :inline
With this setting, jobs such as sending emails are executed immediately without being saved in a background queue.
4. Create the Dockerfile
Create a Dockerfile (no extension) with the following content:
# syntax=docker/dockerfile:1

FROM redmine:7.0.0

ARG PANDOC_VERSION=3.10
ARG TARGETARCH
ARG GITHUB_API_VERSION=2026-03-10

# Install Pandoc
RUN set -eux; \
    case "$TARGETARCH" in \
      amd64|arm64) \
        ;; \
      *) \
        echo "Unsupported architecture: $TARGETARCH" >&2; \
        exit 1; \
        ;; \
    esac; \
    \
    apt-get update; \
    apt-get install -y --no-install-recommends \
        ca-certificates \
        curl; \
    \
    PANDOC_ASSET="pandoc-${PANDOC_VERSION}-1-${TARGETARCH}.deb"; \
    PANDOC_RELEASE_API="https://api.github.com/repos/jgm/pandoc/releases/tags/${PANDOC_VERSION}"; \
    \
    echo "Fetching Pandoc release information from GitHub Release API"; \
    echo "Target file: ${PANDOC_ASSET}"; \
    \
    HTTP_STATUS="$( \
        curl \
            --silent \
            --show-error \
            --location \
            --retry 3 \
            --output /tmp/pandoc-release.json \
            --write-out '%{http_code}' \
            --header "Accept: application/vnd.github+json" \
            --header "X-GitHub-Api-Version: ${GITHUB_API_VERSION}" \
            --header "User-Agent: redmine-docker-build" \
            "$PANDOC_RELEASE_API" \
    )"; \
    \
    if [ "$HTTP_STATUS" != "200" ]; then \
        echo "Failed to call GitHub Release API" >&2; \
        echo "HTTP status: $HTTP_STATUS" >&2; \
        echo "Response body:" >&2; \
        cat /tmp/pandoc-release.json >&2 || true; \
        exit 1; \
    fi; \
    \
    ruby -rjson -e ' \
      asset_name = ARGV.fetch(0); \
      release = JSON.parse(File.read("/tmp/pandoc-release.json")); \
      assets = release.fetch("assets"); \
      asset = assets.find { |item| item["name"] == asset_name }; \
      abort("Pandoc asset not found: #{asset_name}") unless asset; \
      download_url = asset["browser_download_url"]; \
      digest = asset["digest"]; \
      abort("Download URL was not found: #{asset_name}") unless download_url.is_a?(String) && !download_url.empty?; \
      abort("Unexpected download URL: #{download_url.inspect}") unless download_url.start_with?("https://github.com/jgm/pandoc/releases/download/"); \
      abort("Valid SHA256 digest was not found: #{asset_name}: #{digest.inspect}") unless digest.is_a?(String) && digest.match?(/\Asha256:[0-9a-fA-F]{64}\z/); \
      File.write("/tmp/pandoc-url.txt", "#{download_url}\n"); \
      File.write("/tmp/pandoc-sha256.txt", "#{digest.delete_prefix("sha256:")}\n"); \
      warn("Pandoc asset found: #{asset_name}"); \
      warn("SHA256: #{digest}"); \
    ' "$PANDOC_ASSET"; \
    \
    PANDOC_URL="$(cat /tmp/pandoc-url.txt)"; \
    PANDOC_SHA256="$(cat /tmp/pandoc-sha256.txt)"; \
    \
    case "$PANDOC_URL" in \
      "https://github.com/jgm/pandoc/releases/download/${PANDOC_VERSION}/${PANDOC_ASSET}") \
        ;; \
      *) \
        echo "Unexpected Pandoc download URL: $PANDOC_URL" >&2; \
        exit 1; \
        ;; \
    esac; \
    \
    echo "Downloading Pandoc"; \
    curl \
        --fail \
        --show-error \
        --location \
        --retry 3 \
        --output /tmp/pandoc.deb \
        "$PANDOC_URL"; \
    \
    echo "${PANDOC_SHA256}  /tmp/pandoc.deb" \
        | sha256sum -c -; \
    \
    apt-get install -y --no-install-recommends \
        /tmp/pandoc.deb; \
    \
    rm -f \
        /tmp/pandoc.deb \
        /tmp/pandoc-release.json \
        /tmp/pandoc-url.txt \
        /tmp/pandoc-sha256.txt; \
    rm -rf /var/lib/apt/lists/*; \
    \
    pandoc --version

# Include in Redmine only if additional_environment.rb is present
RUN --mount=type=bind,target=/tmp/build-context \
    set -eux; \
    if [ -f /tmp/build-context/additional_environment.rb ]; then \
        install \
            -o redmine \
            -g redmine \
            -m 0644 \
            /tmp/build-context/additional_environment.rb \
            /usr/src/redmine/config/additional_environment.rb; \
        echo "additional_environment.rb was included"; \
    else \
        echo "additional_environment.rb is not found, so Redmine's default settings will be used"; \
    fi
This Dockerfile performs the following processes:
- Uses the official Redmine 7.0.0 Docker image.
- Installs Pandoc 3.10.
- Includes
additional_environment.rbinto Redmine only if it exists.
5. Create docker-compose.yml
Create a docker-compose.yml with the following content:
networks:
  redmine_network:
    driver: bridge

volumes:
  postgres_data:
  redmine_files:
  redmine_plugins:
  redmine_themes:

secrets:
  db_password:
    file: ./db_password.txt
  secret_key_base:
    file: ./secret_key_base.txt

services:
  postgres:
    image: postgres:16-bookworm
    container_name: redmine_postgres
    restart: always

    networks:
      - redmine_network

    volumes:
      - postgres_data:/var/lib/postgresql/data

    environment:
      POSTGRES_USER: redmine_user
      POSTGRES_DB: redmine_production
      POSTGRES_PASSWORD_FILE: /run/secrets/db_password

    secrets:
      - db_password

    healthcheck:
      test:
        [
          "CMD-SHELL",
          "pg_isready -U redmine_user -d redmine_production -h localhost"
        ]
      interval: 10s
      timeout: 5s
      retries: 5
      start_period: 30s

  redmine:
    build:
      context: .
      dockerfile: Dockerfile

    container_name: redmine_app
    restart: always

    ports:
      - "8080:3000"

    networks:
      - redmine_network

    depends_on:
      postgres:
        condition: service_healthy

    volumes:
      - redmine_files:/usr/src/redmine/files
      - redmine_plugins:/usr/src/redmine/plugins
      - redmine_themes:/usr/src/redmine/themes

    environment:
      REDMINE_DB_POSTGRES: postgres
      REDMINE_DB_DATABASE: redmine_production
      REDMINE_DB_USERNAME: redmine_user
      REDMINE_DB_PASSWORD_FILE: /run/secrets/db_password

      REDMINE_SECRET_KEY_BASE_FILE: /run/secrets/secret_key_base

      TZ: UTC
      REDMINE_PLUGINS_MIGRATE: "1"

    secrets:
      - db_password
      - secret_key_base
6. Start the containers
docker compose up -d --build
- The first time you run this, it may take a few minutes to download the DB image and build Redmine with fonts included.
Check the startup status.
docker compose ps
If the STATUS of redmine_app and redmine_postgres is Up (or running), it is successful.
7. Register default data
Register defaults such as "Trackers" and "Statuses" in English. Execute commands:
docker compose exec redmine bash -lc '
  export REDMINE_DB_PASSWORD="$(cat /run/secrets/db_password)"
  export SECRET_KEY_BASE="$(cat /run/secrets/secret_key_base)"
  env RAILS_ENV=production REDMINE_LANG=en \
    bundle exec rake redmine:load_default_data
'
If no errors are displayed and the command execution finishes, it is complete.
8. Access via browser
Access the following via your browser:
http://localhost:8080
The initial login credentials are as follows:
- Login ID:
admin - Password:
admin
You will be asked to change the password immediately after your first login, so please change it to a strong, arbitrary password.
Terminate/Resume operation
- Make sure to execute these commands in the
redminedirectory created in this procedure.
Terminate (Stop and Remove)
Stop and remove the containers (data will not be deleted as it remains in Docker Volumes).
docker compose down
Resume
Start the containers again from a stopped state.
docker compose up -d
If you have changed docker-compose.yml or Dockerfile, apply the changes by running docker compose down followed by docker compose up -d --build.