Quick 5-Minute Guide to the Time Tracking in Redmine
This article will guide you through Redmine’s "Time Tracking" feature—covering how to log spent time on issues, record estimated hours, and view reports to keep your projects on track.
Table of Contents
- Overview
- Enabling the Time Tracking Feature
- Logging Time on Issues
- Recording Estimated Time on Issues
- Viewing Time Reports
Overview
In Redmine, there is a feature called "Time Tracking." This allows you to log and aggregate the hours (work time) spent on issues and projects, as well as record estimated hours.
For example, when you register a task as an issue, you can log the time spent after completing the work. The total logged hours will then be displayed on the issue. You can also generate reports showing who spent how much time on which issues.
Keeping records of the time spent on tasks is useful not only for the current project but also for future projects. When a similar task arises again, you can refer back to the past records to make more accurate estimations for the required hours.
You can also enter estimated hours when registering issues. By doing this for all tasks, you can calculate the total estimated effort for the entire project.
By aggregating issues by phase, you can assess whether each phase is likely to proceed as planned. Aggregating by team member allows you to check whether workloads have been distributed reasonably.
In short, time tracking is an essential tool for effective project management.
Enabling the Time Tracking Feature
Enable the “Time Tracking” Module
First, you need to enable the Time Tracking module, which can be turned on or off for each project.
Only users with the role permissions Edit project and Select modules in the project where time tracking is needed can make this change. If you ran load the default configuration during the initial setup of Redmine, the Manager role already has these permissions, so assigning that role will be sufficient.
Go to Project Settings → Project tab, check the box for "Time tracking", and click "Save".
Enable “Time tracking” in the Modules section
You can also enable modules when creating a new project. If you plan to use "Time tracking," it’s best to enable it at that stage.
Registering “Activities (Time Tracking)”
When logging time, selecting an Activity is mandatory. Since this will be useful later for reporting, it’s a good idea to register activity names that match your project.
If you ran load the default configuration, two activities—Design and Development—are created automatically. You can use them as they are, or rename them if needed.
Only users with administrator privileges can add or rename activities. Immediately after installation, the admin account has these privileges, so it’s recommended to log in as admin to perform this setup.
From the top menu, go to Administration → Enumerations. In the "Activities (time tracking)" section, you will find the list of activities.
"Activities (time tracking)” under Enumerations
Click New value to add a new activity.
Add a new activity
Enter a name, check Active, and click Create. If you check Default value, that activity will be automatically selected when logging time.
Logging Time on Issues
There are two ways to log time on issues:
1. Entering time directly in the issue edit screen.
2. Using the dedicated Log time screen.
1. Entering Time in the Edit Screen
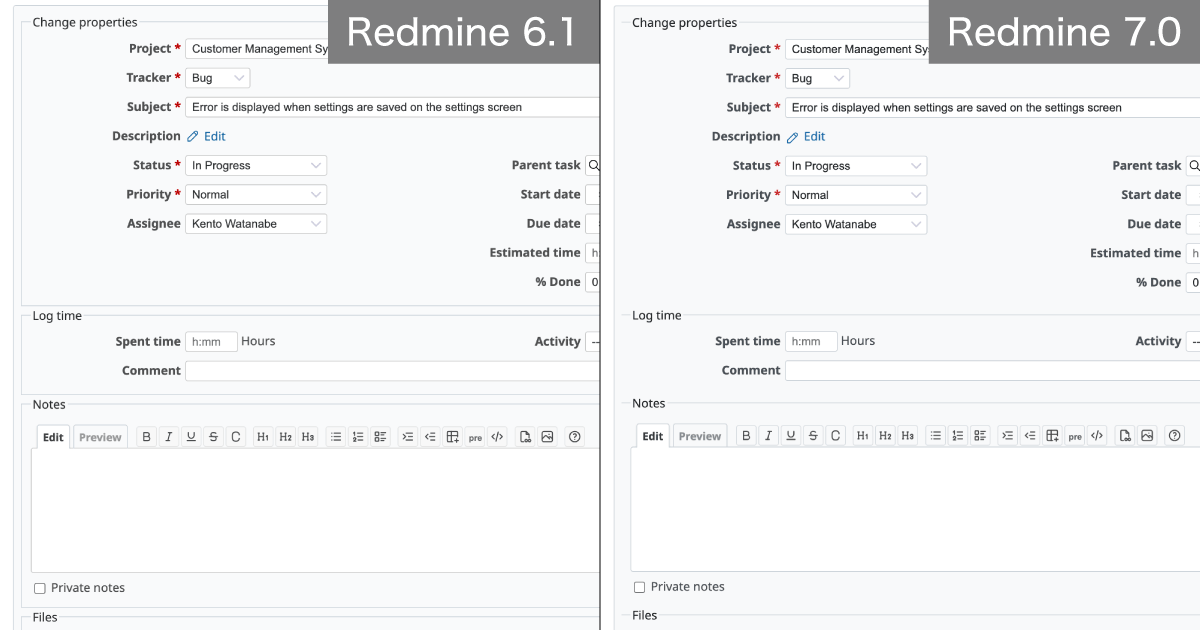
In the issue edit screen, there is a Log time section.
"Log time” field in the issue edit screen
Enter the hours in the "Spent time" field. You can use either hours and minutes or decimal notation:
1:301h30m1.5
Select an "Activity"(mandatory), and optionally add a comment. Then click Submit.
2. Using the “Log Time” Screen
On the issue display screen, click Log time at the top.
Click "Log time"
In the form, enter the hours, select an activity, and click "Create".
"Spent time" entry form
Once time is logged, it will be displayed in the “Spent time” field of the issue. If multiple entries are recorded, their total is displayed.
By default, time is displayed in hours and minutes. To switch to decimal format, go to Administration → Settings → Display tab → Time span format and select 0.75.
Set “Time span format” to 0.75 to switch to decimal format
Recording Estimated Time on Issuess
In the issue edit screen, there is an "Estimated time" field where you can enter the estimated time for the task in the same format as actual hours.
Enter the estimated time
However, this field will only appear if the "Estimated time" standard field is enabled in the tracker settings. Make sure to enable this standard field in the tracker configuration before attempting to enter estimated hours.
Enable "Estimated time" standard field
Viewing Time Reports
To see aggregated time data, open the "Spent time" screen.
Go to the project menu → Spent time, or from the project overview page under Time tracking, click Details.
Click "Spent time" or "Detials"
The Details tab shows a list of issues with logged hours and their totals. You can filter issues and customize displayed items.
“Details” tab in Spent time
Switch to the Report tab to view data grouped by user, activity, or date.
“Report” tab in Spent time
When you select a period or criteria from the dropdown menu, the screen updates to display the aggregated results. In the example above, the results are grouped by user, by activity, and by day.
Note that the "Spent time" screen does not support comparing estimated time with spent time. If you need to see both at once, use the "Issue list" screen.
How to display:
- In the Issue list screen, click "Options".
- Move Estimated time and Spent time from "Available Columns" to "Selected Columns".
- Click "Apply".
Display both "Estimated time" and "Spent time"
Recording estimated hours and actual spent time helps with project progress management and also serves as a valuable reference for future projects. By leveraging Redmine’s Time Tracking feature, you can enhance both project control and long-term efficiency.
Explore Redmine's capabilities firsthand on the demo site: demo.redminecloud.net
Return to the "Quick 5-Minute Guide to Redmine" Article List


